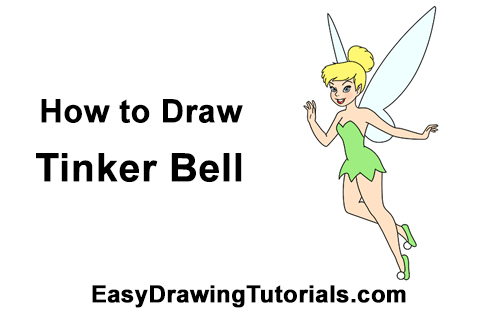
Use the videos and step-by-step drawing instructions below to learn how to draw Tinker Bell (Full Body) from Disney's Peter Pan. Stay tooned for more tutorials!
The speed drawing video:
The written step-by-step video tutorial:
Intro: Start off with a pencil sketch. In the beginning stages, don’t press down too hard. Use light, smooth strokes for sketching.
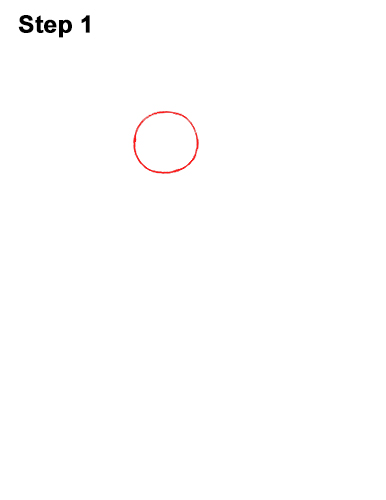
Step 1: Draw a small circle near the top of the paper as a guide for Tinker Bell's head. First draw four small marks for the height and width of the circle, then connect the marks using curved lines. Sketch lightly at first so that it's easy to erase if you make a mistake. The circle doesn't have to be perfect. It's just a guide. If you're struggling drawing the circle, trace the outer rim of a coin, a lid or any other object with a circular edge.
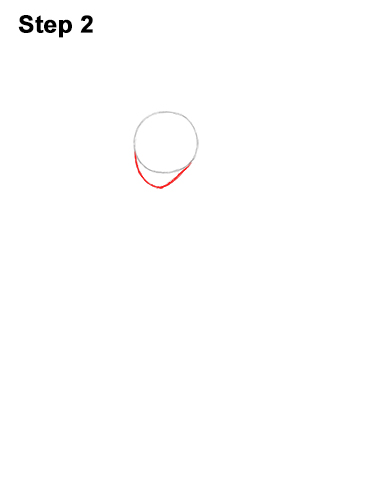
Step 2: Draw a small, curved line under the head as a guide for the jaw and chin. Don't draw this line too low, otherwise your Tinker Bell will end up with a big chin.
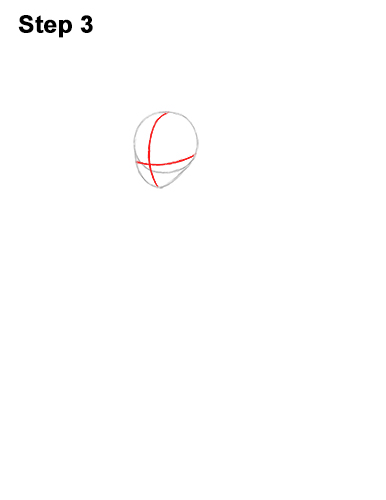
Step 3: Draw two curved intersecting lines inside the head, one horizontal and one vertical. Curve the lines so that they contour to the shape of the head. Pay attention to the placement of the lines. These construction lines will help you place Tinker Bell's facial features later.
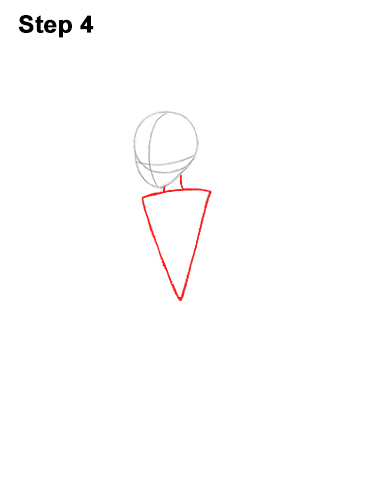
Step 4: Draw two short lines under the head as guides for the neck. Under the neck, draw a horizontal line for the first part of the guide for the body. Now draw two long diagonal lines that come to a point at the bottom to complete the guide for Tinker Bell's body. The end result should look like a long, narrow triangle.
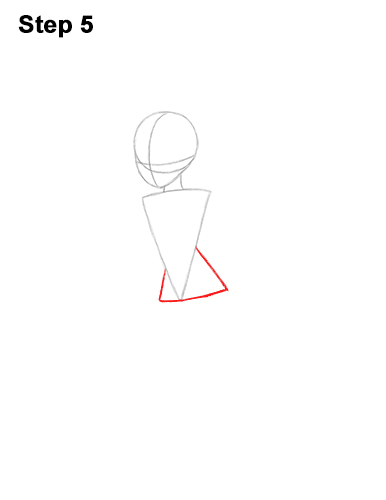
Step 5: Right under the triangle, draw a short horizontal line as a guide for the lower half of Tinker Bell's body. Connect the sides to the top part of the body using a couple of diagonal lines.


