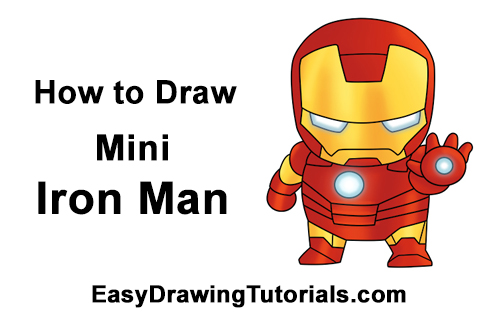
Use the videos and step-by-step drawing instructions below to learn how to draw a Mini or Chibi version of Iron Man. Stay tooned for more tutorials!
The written step-by-step video tutorial:
Intro: Start off with a pencil sketch. In the beginning stages, don’t press down too hard. Use light, smooth strokes for sketching.

Step 1: Draw a long, curved horizontal line for the top section of the eyes on mini Iron Man's face plate.
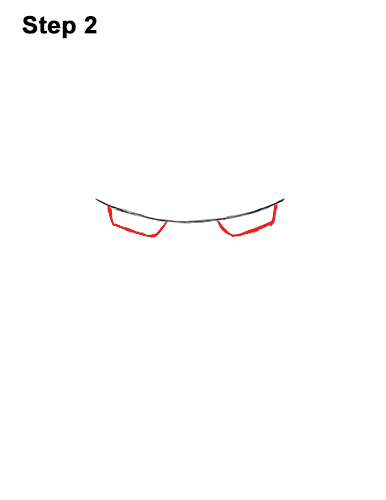
Step 2: Now draw Iron Man's eyes by first drawing four short vertical lines directly under the long horizontal line. Now add the bottoms of the eyes by using short horizontal lines. The eyes should look like small rectangles.
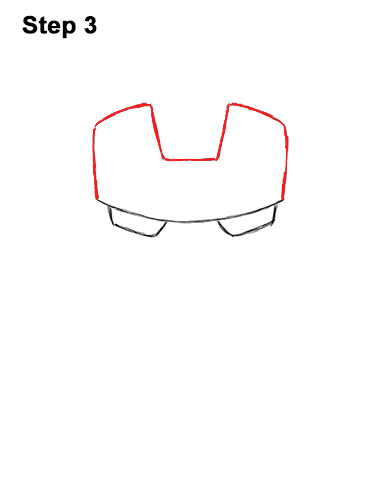
Step 3: Add the top of chibi Iron Man's face plate by drawing a long vertical line on either side of the horizontal line. Add two short horizontal lines at the top but leave a wide gap in the middle. In the gap, draw two vertical lines that come down toward the eyes and one horizontal line at the bottom.
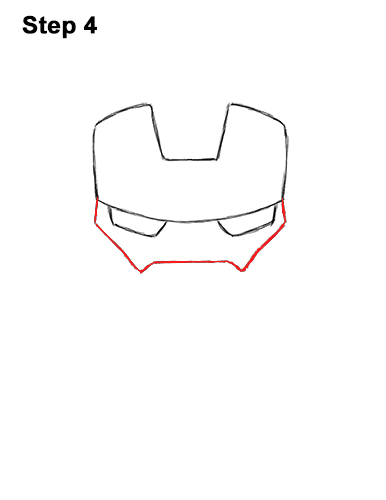
Step 4: Now add the bottom part of Iron Man's face plate by first drawing a short diagonal line next to each eye. Now draw a longer, curved diagonal line on either side. These lines should point inward at the bottom. Draw a short, diagonal line pointing up on either side and a horizontal line to close the gap in the middle.
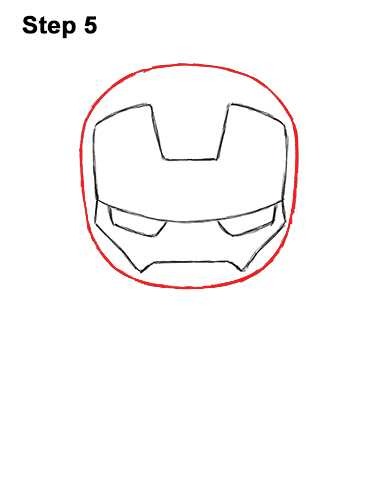
Step 5: Now add the head by first drawing four small marks around the face plate. Draw a line on each side, top and bottom. Pay close attention to the distance from the lines to the face plate. Now connect these short lines using a series of curved lines to complete the shape of the head. As you draw the shape of the head, keep the lines close to the face plate. Don't draw them too far way. Iron Man's head will be tilted down slightly, so the top part should be a bit wider than the bottom.


