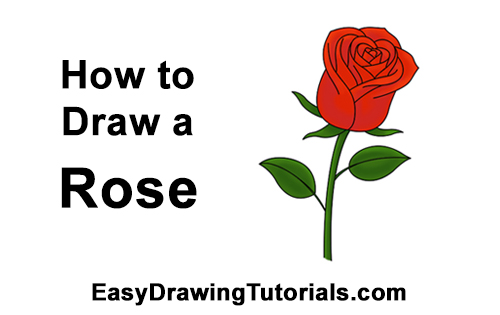
Use the videos and step-by-step drawing instructions below to learn how to draw a Rose. Stay tooned for more tutorials!
The written step-by-step video tutorial:
Intro: Start off with a pencil sketch. In the beginning stages, don’t press down too hard. Use light, smooth strokes for sketching.

Step 1: Start by drawing a small curved line for the first petal in the middle of the rose flower. This line should be similar to a letter U that's almost upside-down.
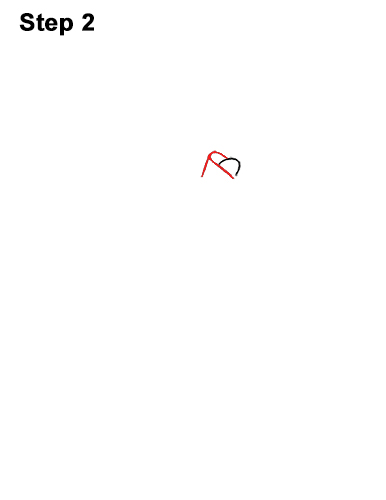
Step 2: For the next petal, first draw a diagonal line that closes the bottom end of the first petal. Then curve the top end of this line to the right and down so that it meets the first petal at the top. Add a small line on the left side to complete the shape of the second rose petal.
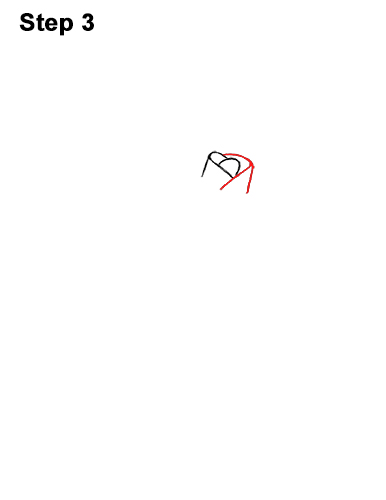
Step 3: For the third flower petal, draw another curved line on the right side to completely surround the first petal. Add a small vertical line on the right to finish up the shape of the third folded rose petal.
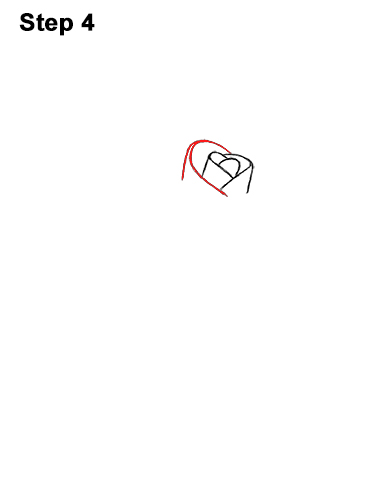
Step 4: For the next rose petal, draw another curved line on the left side like in step 2 but make it bigger. Add a small vertical line on the left side to complete the shape of the folded petal.
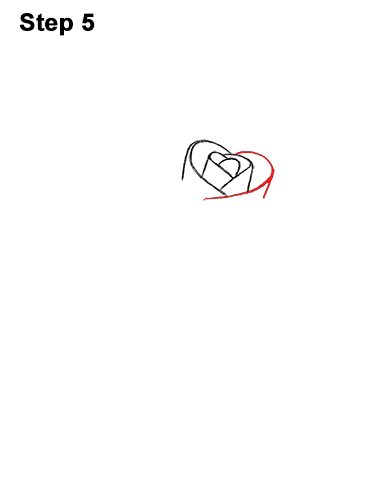
Step 5: Now add another curved line on the right like you did in step 3 for the next flower petal. You can actually continue adding curved lines on the sides like this as long as you want and make a giant rose!


