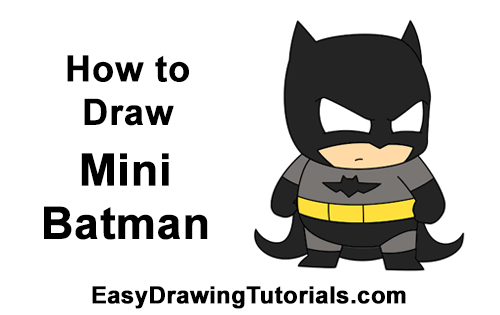
Use the videos and step-by-step drawing instructions below to learn how to draw a Mini or Chibi version of Batman. Stay tooned for more tutorials!
The written step-by-step video tutorial:
Intro: Start off with a pencil sketch. In the beginning stages, don’t press down too hard. Use light, smooth strokes for sketching.
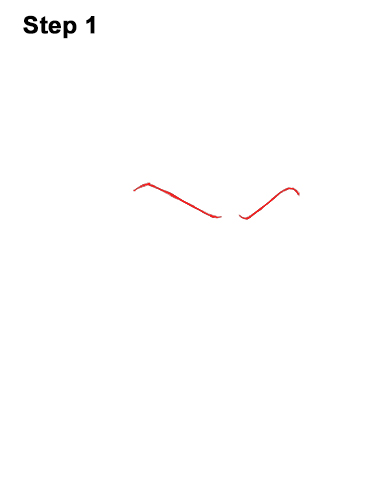
Step 1: Draw two diagonal lines for the top part of mini Batman's eyes. The lines should almost touch in the middle. The line on the left should be slightly smaller. Curve the outer tips of the lines down and the inner tips up to create a furrowed brow.
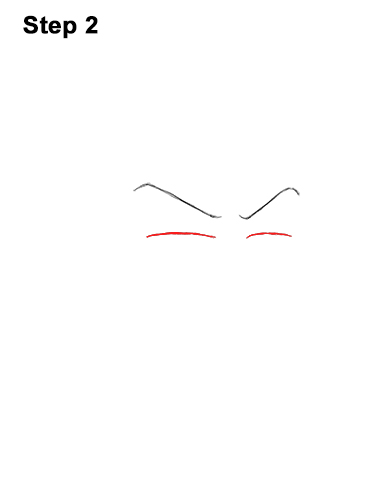
Step 2: Below each diagonal line, draw a curved horizontal line for the bottom part of Batman's eyes. The line on the right should be a bit smaller because of perspective.
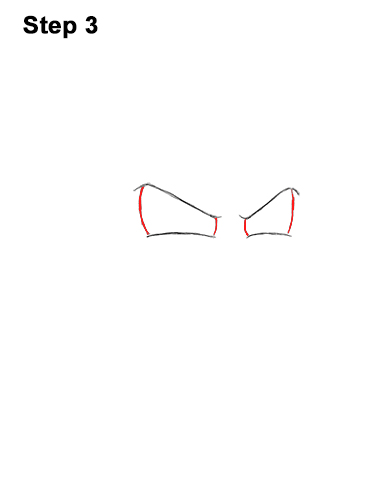
Step 3: Add the sides of Batman's eyes by drawing a series of vertical lines that connect the top lines to the bottom.
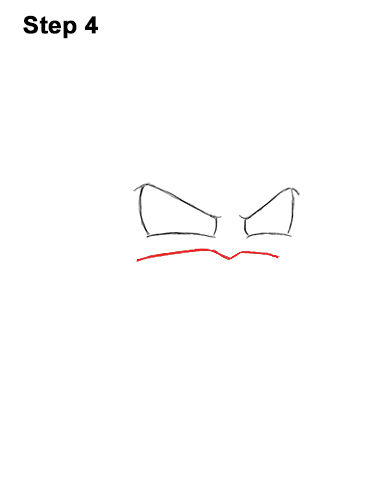
Step 4: Under the eyes, near the middle, draw a small V- shaped line for the nose on Batman's mask. On either side of the nose, draw a long curved horizontal line for the mask's opening.
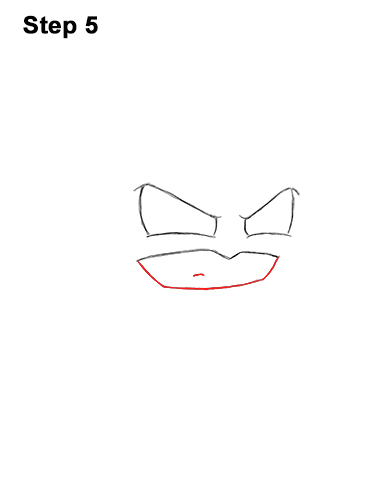
Step 5: Below the nose, draw a long, curved horizontal line for the bottom of the head. The space between the nose and bottom of the head should be small. Add the sides of the mask's opening using vertical lines. Within the shape you created, off to the side, draw a small line for mini Batman's mouth.


