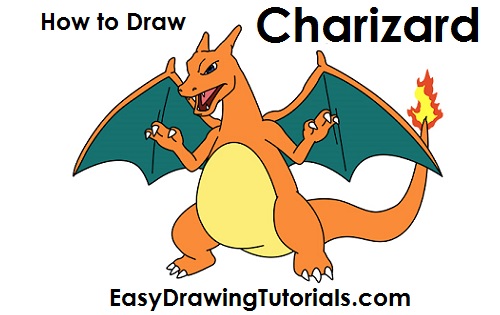
Learn how to draw Charizard from Pokemon with this step-by-step tutorial and video. A new cartoon drawing tutorial is uploaded every week, so stay tooned!
Intro: Start off with a pencil sketch. In the beginning stages, don’t press down too hard. Use light, smooth strokes for sketching.
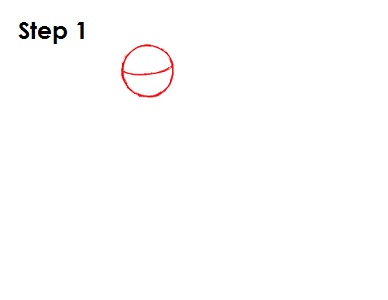
Step 1: Start by drawing a small circle near the top of the page as a guide for Charizard's head. The circle doesn't have to be perfect. It's just a guide. Draw a curved horizontal line that splits the circle in half. This is a construction line that will help you place Charizard's facial features later on.
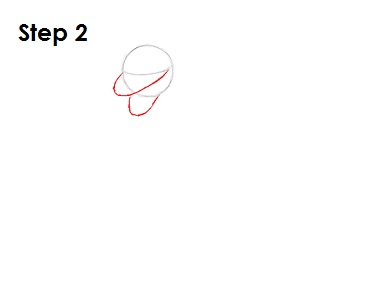
Step 2: Now draw two curved lines as guides for Charizard's top and bottom jaw. The top curved line starts on one end of the horizontal construction line, comes outside of the circle and ends on the other end of the construction line. The bottom curved line should be shorter and be placed under the circle.
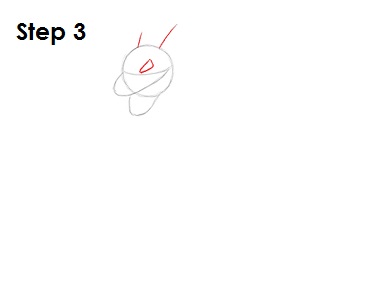
Step 3: Next, draw a triangle-like shape sitting on top of the horizontal construction line near the middle of the circle. This will be a guide for Charizard's eye. The other eye will be on the other side of the head and will not be visible from this perspective. On top of the head, draw two small lines as guides for this Pokemon's horns.
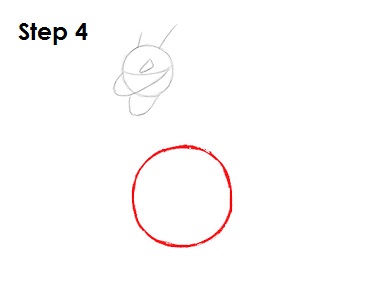
Step 4: Below Charizard's head, draw a big circle as a guide for the bottom part of the body. This circle should be about four times the size of the first circle for the head. Pay attention to the distance between the two circles or your Charizard drawing can end up too long or too short.
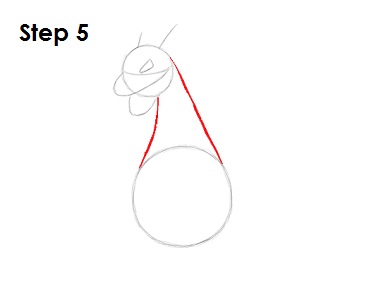
Step 5: Draw two long lines that connect Charizard's head and the body to form the top part of the body and the neck. Notice how the two lines are closer together at the top than at the bottom.


