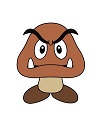
Use the video and step-by-step drawing instructions below to learn how to draw a Goomba from Nintendo's Super Mario video games. A new drawing tutorial is uploaded every week, so stay tooned!
Intro: Start off with a pencil sketch. In the beginning stages, don’t press down too hard. Use light, smooth strokes for sketching.
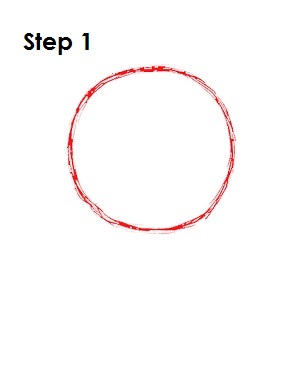
Step 1: Start by drawing a big circle on the top half of the page. It doesn’t have to be perfect. It’s just a guide for the Goomba’s head.
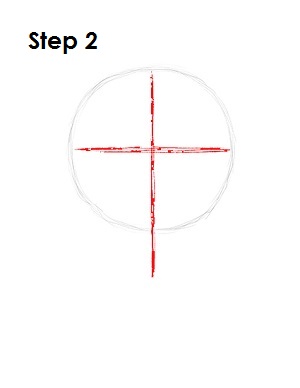
Step 2: Next, draw two intersecting lines across the circle, one vertical and one horizontal. The vertical line should extend outside of the circle just a bit. The lines should divide the circle into four equal parts, and the end result should be similar to crosshairs on a scope. These will be construction lines that will help you place the Goomba's facial features later on.
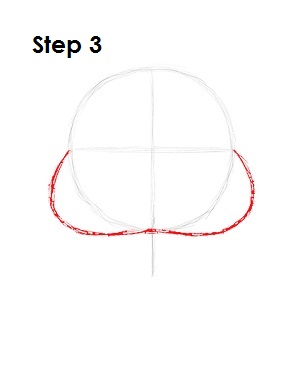
Step 3: Draw two arcs on the bottom of the circle as guides for the Goomba's cheeks. The arcs should start on either end of the horizontal construction line, then arc outward and end on the lower end of the vertical construction line.
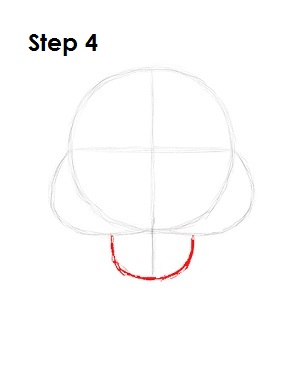
Step 4: Below the Goomba's head, draw a shape similar to the letter U as a guide for the short body. Use the length of the vertical construction line to dictate the length of the Goomba's body.
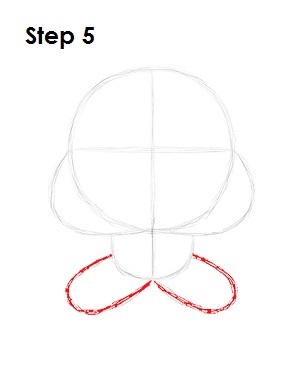
Step 5: Directly underneath the Goomba's body, draw two more U-shaped arcs as guides for the feet. The arcs should angle out from the tip of the vertical construction line toward the middle section of the body.


