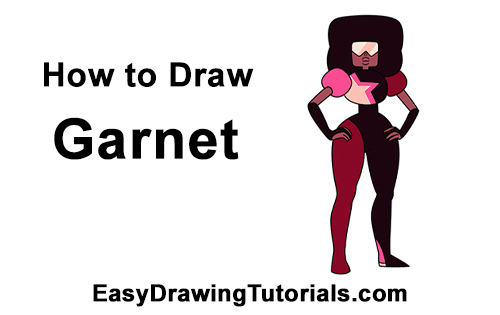
Use the video and step-by-step drawing instructions below to learn how to draw Garnet from Steven Universe. A new drawing tutorial is uploaded every week, so stay tooned!
Intro: Start off with a pencil sketch. In the beginning stages, don’t press down too hard. Use light, smooth strokes for sketching.
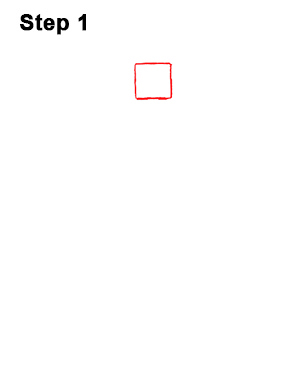
Step 1: Start by drawing a small square near the top of the page as a guide for Garnet's head. Don't make the square too big because her hair will be even bigger. Leave enough room at the bottom for the rest of her body.
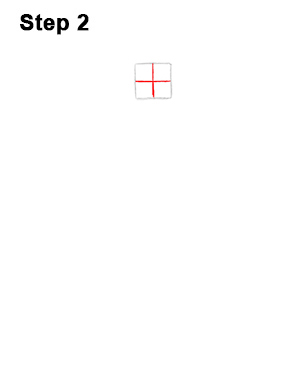
Step 2: Next, draw two intersecting lines across the head, one vertical and one horizontal. These will be construction lines that will help you place Garnet's facial features later on. The lines should divide the square into four equal shapes.
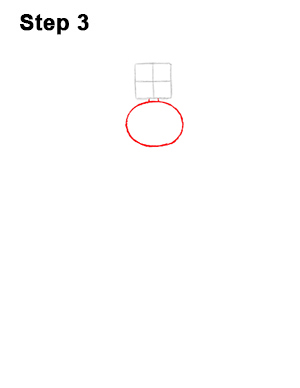
Step 3: Under the head, draw an oval as a guide for the top part of Garnet's torso. The oval should be bigger than the head. Add two tiny lines on top that connect to the head for the neck.
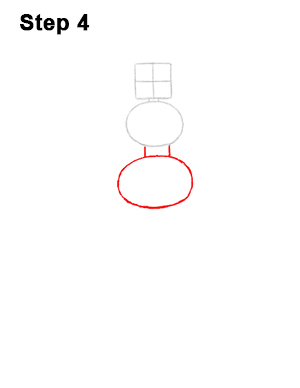
Step 4: Draw another oval under the first one as a guide for the lower part of Garnet's torso. This oval should be bigger than the first. Draw two small lines to connect the two ovals and complete the guide for the body.
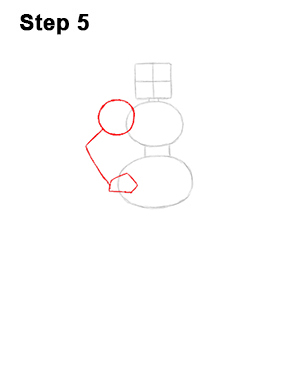
Step 5: Draw a circle on the top left side of the body as a guide for Garnet's shoulder. Under the circle, draw an angled line as a guide for the arm. At the end of the line, on the bottom, draw a pentagon as a guide for the hand resting on the hip. The pentagon shape should be long.


