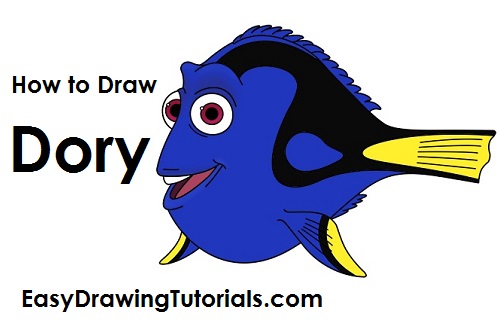
Use the video and step-by-step drawing instructions below to learn how to draw Dory from Disney•Pixar's Finding Nemo. A new drawing tutorial is uploaded every week, so stay tooned!
Intro: Start off with a pencil sketch. In the beginning stages, don’t press down too hard. Use light, smooth strokes for sketching.
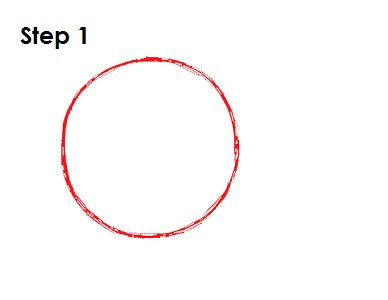
Step 1: Start with a big circle near left side of the paper. It doesn’t need to be perfect. It’s just a basic shape for Dory’s head. Leave enough room on the right side for the tail.
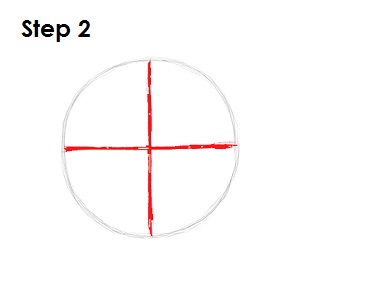
Step 2: Inside the circle, draw two intersecting lines, one horizontal and one vertical. The lines should split up the circle into four equal parts. The end result should be similar to looking through a scope. These are construction lines that will help you place Dory’s facial features later on.
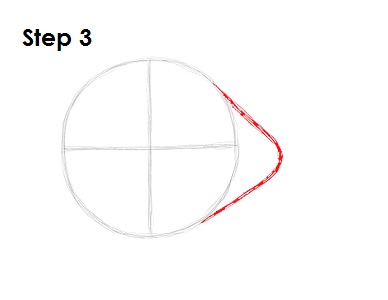
Step 3: On the right side of the circle, draw a small arc to complete the guide for Dory’s body. The shape of the arc should be similar to a little hill on its side.
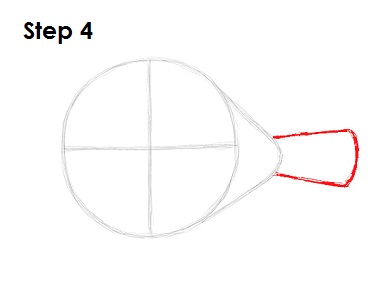
Step 4: To the right of the arc, draw a shape as a guide for Dory’s tail. The shape consists of a short curved line on the right side that connects to the body by two longer, straight lines.
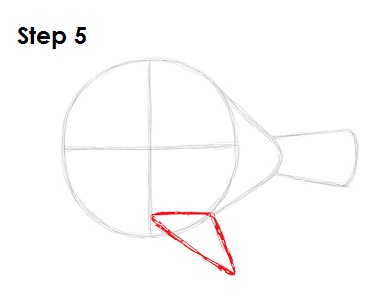
Step 5: At the bottom of the main circle, draw a small triangle as a guide for Dory’s fin. The top corner of the circle should be placed where the edge of the main circle meets the small hill-like arc. Use the construction lines to guide you with the rest of the placement.


