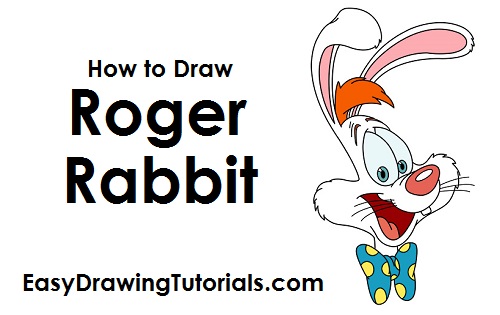
Use the video and step-by-step drawing instructions below to learn how to draw Roger Rabbit from Disney's Who Framed Roger Rabbit. A new cartoon drawing tutorial is uploaded every week, so stay tooned!
Intro: Start off with a pencil sketch. In the beginning stages, don’t press down too hard. Use light, smooth strokes for sketching.
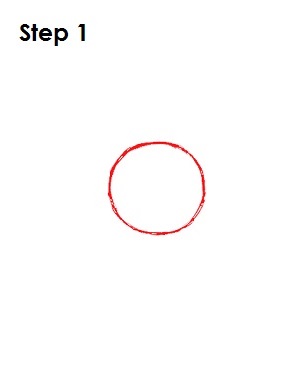
Step 1: Start by drawing a small circle near the middle of the page. This will be the basic shape for the top part of Roger Rabbit's head. The circle doesn’t have to be perfect. It’s just a guide.
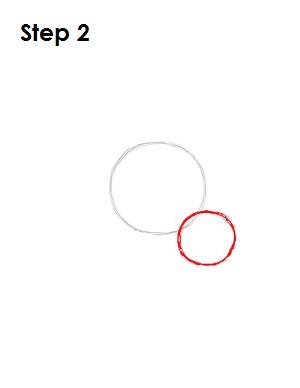
Step 2: Now draw a smaller circle on the lower right side as a guide for the top part of Roger Rabbit's mouth or muzzle. This circle should be about a quarter the size of the first one, and their edges should overlap a bit.
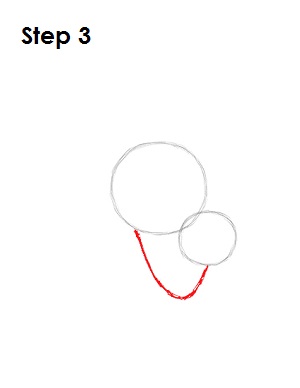
Step 3: Draw a long curved line similar to the letter U under both circles as a guide for the lower part of Roger Rabbit's mouth. The line should dip down quite a bit.
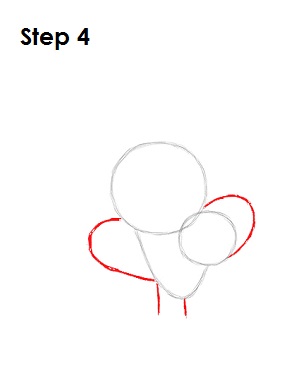
Step 4: On either side of the head, draw a curved line as guides for Roger Rabbit's cheeks. The cheeks complete the shape of the entire head. The curved line on the right side should be a little smaller because of the perspective. Add two small straight lines at the bottom too as guides for the neck.
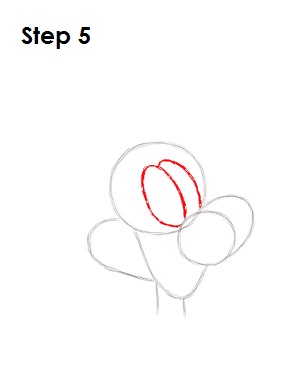
Step 5: Draw two long oval-like shapes as guides for Roger Rabbit's eyes. Draw them inside the original circle and sitting on the top left side of the smaller circle. The shape on the right will be blocked by the one on the left, so don't draw it completely.


