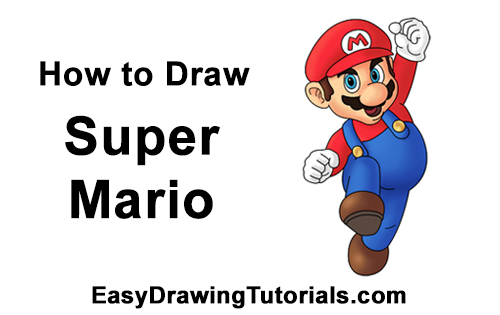
Use the videos and step-by-step drawing instructions below to learn how to draw Super Mario (Full Body). A new cartoon drawing tutorial is uploaded every week, so stay tooned!
The speed drawing video:
The written step-by-step video tutorial:
Intro: Start off with a pencil sketch. In the beginning stages, don’t press down too hard. Use light, smooth strokes for sketching.
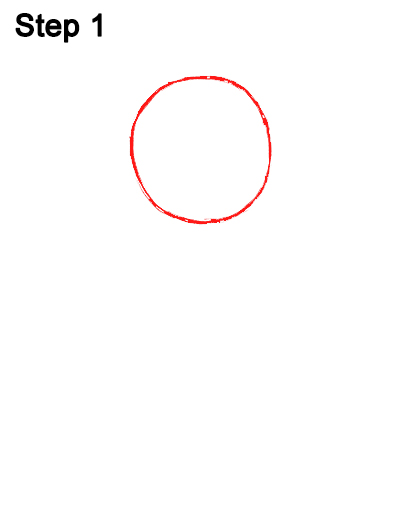
Step 1: Draw a circle near the top of the page as a guide for Mario's head. First draw four tiny marks for the height and width of the circle, then connect the marks using curved lines. Sketch lightly at first so that it's easy to erase if you make a mistake. But the circle doesn't have to be perfect. It's just a guide. If you do want a perfect circle, trace the outer rim of a glass, a cup or anything else that's circular.
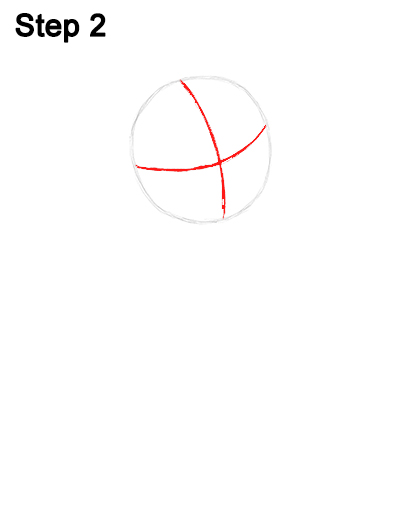
Step 2: Draw two intersecting lines inside the circle, one horizontal and one vertical. Curve the lines to contour to the head. The vertical line should be a little to the right of the middle of the middle of the circle. The horizontal line should be a bit lower than the middle. These construction lines will help you place Mario's facial features later.
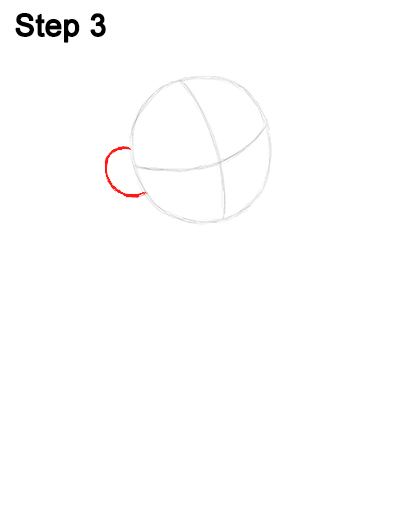
Step 3: On the left side of the head, draw a C-shaped line as a guide for Mario's ear.
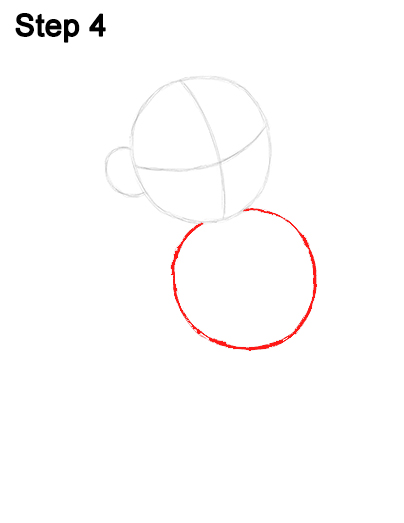
Step 4: Draw another circle under the head as a guide for Mario's body. This circle should be about the same size as the one for the head. Draw this circle a little to the right of the head. Don't draw it directly underneath. A very small section of the circle at the top should be behind the head.
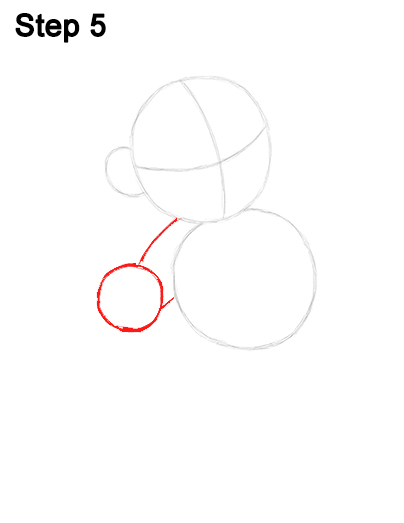
Step 5: Draw a small circle on the left side of the body as a guide for Mario's first hand. Pay attention to the size of this circle in relation the circle for the body. It should be about one-fifth the size. Draw two curved lines that connect the small circle to the body to form the guide for the first arm.


