
Use the video and step-by-step drawing instructions below to learn how to draw Dipper Pines from Disney Channel's Gravity Falls. A new drawing tutorial is uploaded every week, so stay tooned!
Intro: Start off with a pencil sketch. In the beginning stages, don't press down too hard. Use light, smooth strokes for sketching.
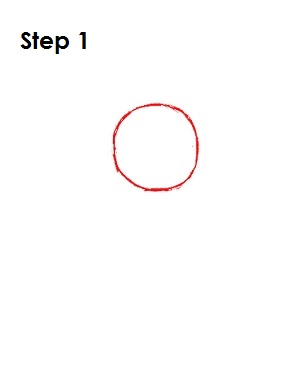
Step 1: Start by drawing a circle near the top half of the page. It doesn't have to be perfect. It's just a guide for Dipper Pines' head.
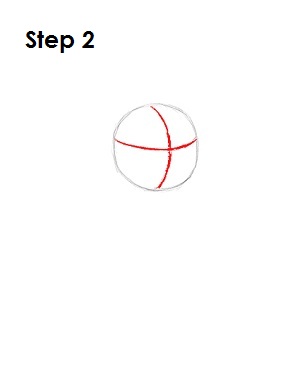
Step 2: Next, draw two intersecting lines across the circle, one vertical and one horizontal. Bend the lines so that they contour to the shape. These will be construction lines that will help you place Dipper Pines' facial features later on.
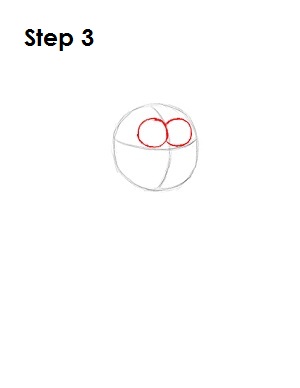
Step 3: Draw two small circles sitting on top of the horizontal construction line as guides for Dipper Pines' eyes. The circles should be on either side of the vertical construction line.
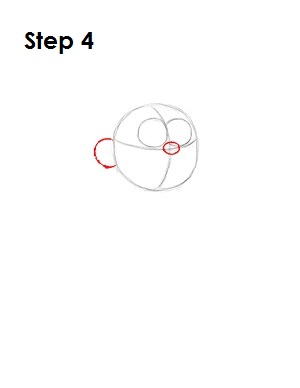
Step 4: Below Dipper Pines' eyes, where the two construction lines intersect, draw a tiny oval as a guide for his nose. On the left side of the head, where the horizontal construction line starts, draw a C-shaped line as a guide fore Dipper Pines' ear.
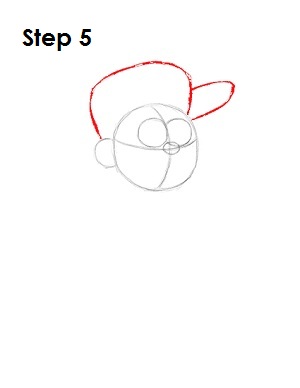
Step 5: Draw a big arc on top of Dipper Pines' head as a guide for the top of his cap. The arc starts on top of the ear and ends on the top right side of the head. Then draw a smaller, thinner arc to the right of that to create a guide for the bill portion of Dipper Pines' cap.


