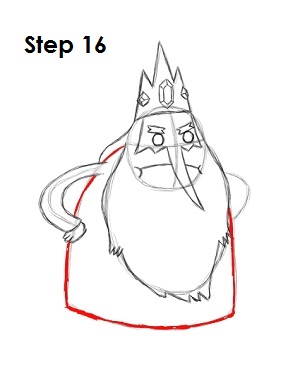
Step 16: Darken the initial guide line to complete drawing the rest of the Ice King's body.
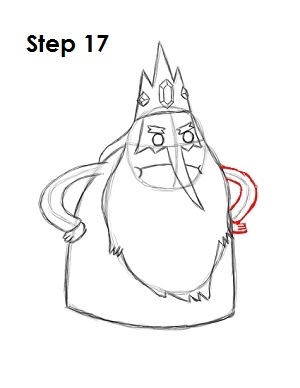
Step 17: Draw the right arm the same way you drew the left. Thicken the guide line, and then draw the hand and fingers. The Ice King's beard is blocking part of his hand, so only draw the visible portion.
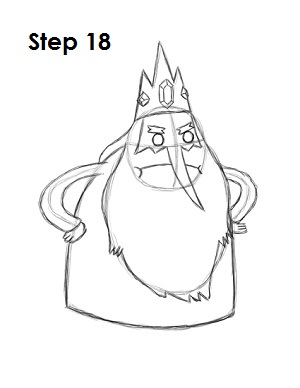
Step 18: That’s it! You now have a nice sketch of the Ice King from Cartoon Network's Adventure Time. You can stop at this quick drawing for a rough, sketchy look or go for a more finished look by continuing to the step below.
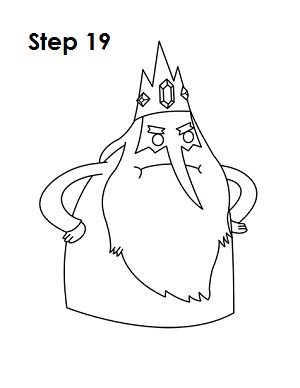
Step 19: For a more finished, inked look, carefully draw over the final sketch lines with a pen or marker. Wait for the ink to dry, and then get rid of every pencil mark with an eraser. You now have a finished inked drawing of the Ice King! You can stop here or go to the final step to complete your Ice King drawing.
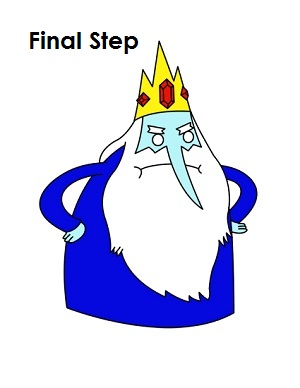
Final Step: For a completely finished Ice King drawing, you have to color it. You can use markers, color pencils or even crayons! His crown is yellow, and the jewels are red. His skin is light blue, and his robe is a darker blue. That’s it! You now have a completed drawing of the Finn and Jake’s enemy: the evil Ice King from Cartoon Network's Adventure Time.
RELATED TUTORIALS
 |
 |
 |
 |
 |


