
Use the video and step-by-step drawing instructions below to learn how to draw Simba from The Lion King. A new drawing tutorial is uploaded every week, so stay tooned!
Intro: Start off with a pencil sketch. In the beginning stages, don't press down too hard. Use light, smooth strokes for sketching.
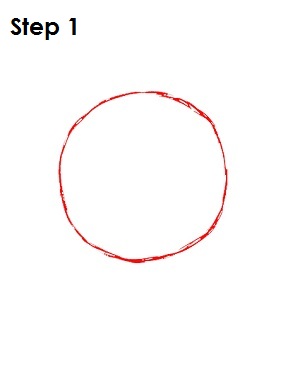
Step 1: Start drawing Simba by sketching a circle in the middle of the page. This will be the basic shape for Simba's head.
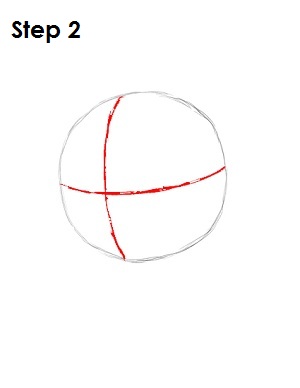
Step 2: Next draw a vertical line near the left side of the circle and a horizontal line near the middle of the circle. When drawing the lines, bend them so that they curve to the shape of the sphere. These will be construction lines that will help you place Simba's features later on.
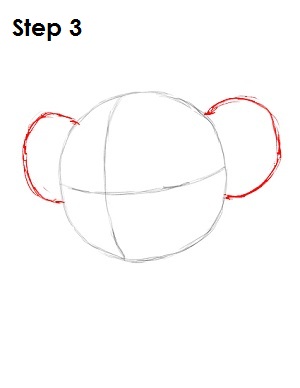
Step 3: Now draw a C-shaped curve on the top left side of Simba's head and a slightly bigger, backwards C-shaped curve on the other side of his head. These are the basic shapes for Simba's ears.
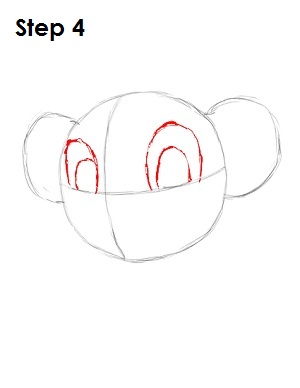
Step 4: On top of the horizontal construction line on the left side of the vertical line, draw a big upside-down U-shaped curve that grazes the main circle. Draw a similar but smaller curve in side of it. Do the same thing on the other side of the vertical construction line, but make the curves a bit bigger. These will be Simba's eyes.
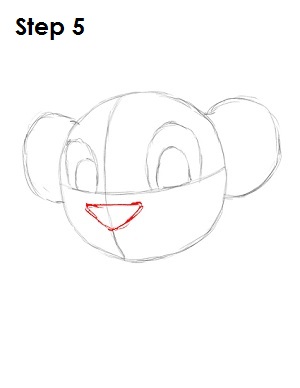
Step 5: Draw an upside-down triangle below the horizontal construction line to create Simba's nose.


