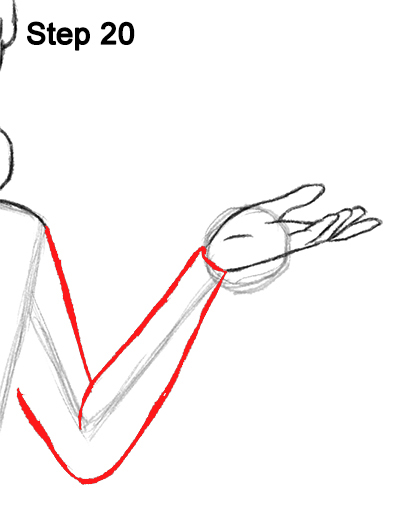
Step 20: Use the angled line as a guide to draw the arm. Follow the basic path of the line as you make the shape of the arm thicker. The arm should be thinner at the wrist. Connect the line for the shoulder to the line for the arm.
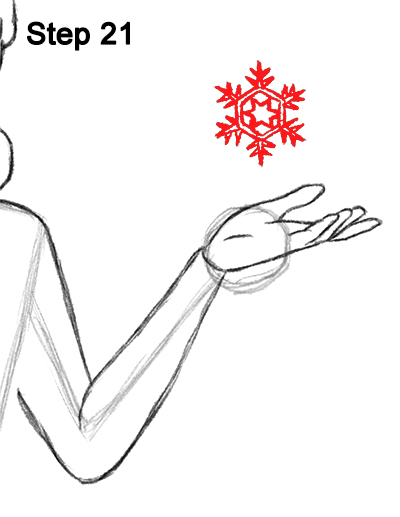
Step 21: Draw a snowflake above Elsa's hand. This step is sped up because it's optional and isn't part of Elsa. Draw a hexagon, then complete the design using spikes and other shapes on it and around it.
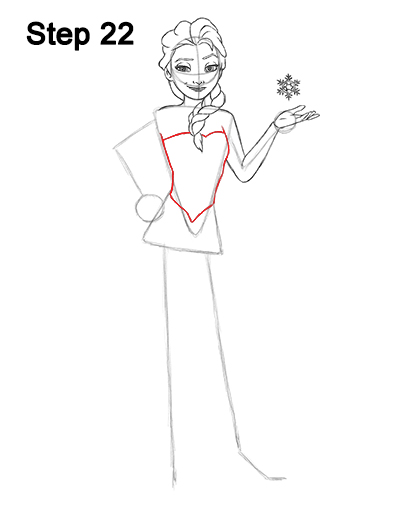
Step 22: Use the initial triangle as a guide to draw the top part of Elsa's torso. Follow the basic path of the triangle but make the overall shape curvier as you darken the lines. Darken the left side of the torso using a curved line that follows the shape of the triangle. The middle part of the dress consists of a line that's similar to the letter V placed low on her waist. The top part of the dress is made up of another curvy line. Make sure this top line doesn't overlap the braid.
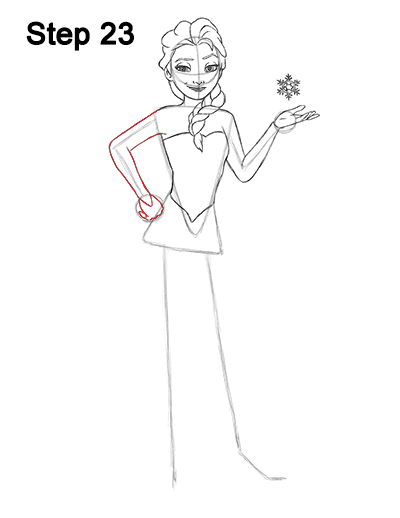
Step 23: Use the angled line on the left side as a guide to draw Elsa's other arm. Follow the path of the guide as you make the shape of the arm thicker. Sketch the shape of the arm lightly at first and darken the lines only when you get the structure right. The dress' sleeve should be pointy and similar to the letter V. Draw the hand using the initial circle as a guide. The fingers are folded, so just draw the visible pinky.
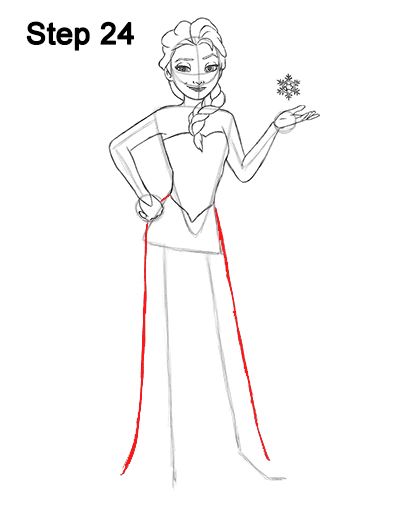
Step 24: Draw two long, vertical lines on either side of the lower part of the body for the sides of Elsa's dress. Use the initial lines for the legs as guides to draw these lines. Pay attention to the distance between them. The bottom ends of these lines should curve out just a little bit.


