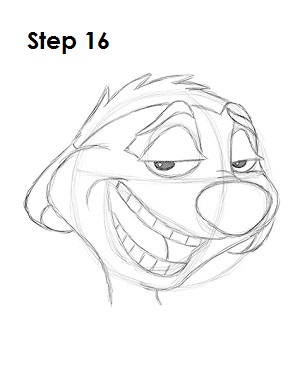
Step 16: That’s it! You now have a nice sketch of the Timon. You can stop at this quick drawing for a rough, sketchy look or go for a more finished look by continuing to the step below.

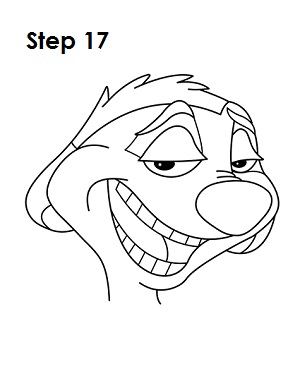
Step 17: For a more finished, inked look, carefully draw over the final sketch lines with a pen or marker. Wait for the ink to dry, and then get rid of every pencil mark with an eraser. You now have a finished inked drawing of the Timon! You can stop here or go to the final step to complete your Timon drawing.

Final Step: For a completely finished Timon drawing, you have to color it. You can use markers, color pencils or even crayons! Color his hair red. The main part of his fur is dark yellow, while the fur around his mouth is light yellow. Timon's eyebrows, eyelids, nose and ears are brown. The space between the eyebrows and eyelids, the inside of the ears and mouth, and the shine on the nose are light brown. His tongue is pink.That’s it! You now have a completed drawing of Timon from Disney's The Lion King.


