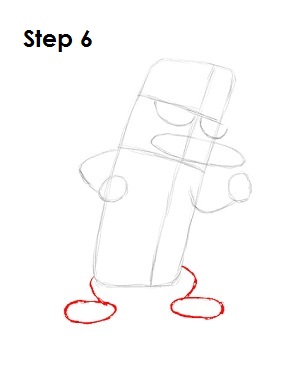
Step 6: Draw Perry the Platypus's legs at the bottom of his body as curved lines. For his feet, draw ovals instead of circles at the end of the leg lines.
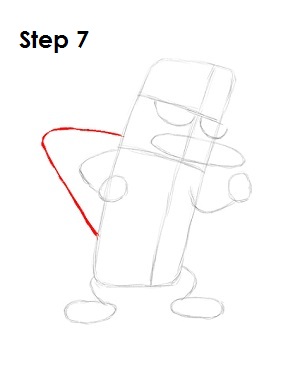
Step 7: Starting above the bottom horizontal guideline, draw a curved line that extends to the lower left side of this Disney cartoon character's body as a guide for his tail.
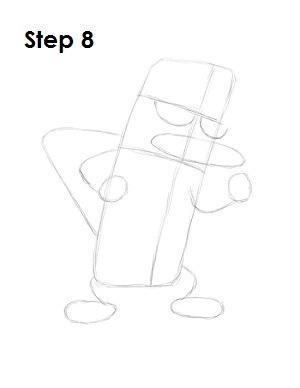
Step 8: That's it for the initial sketch of the Phineas and Ferb character Perry the Platypus! You have the basic Perry the Platypus shape, so now go in and tighten your drawing. From this point on, press harder with your pencil in order to get darker lines and a more defined sketch.
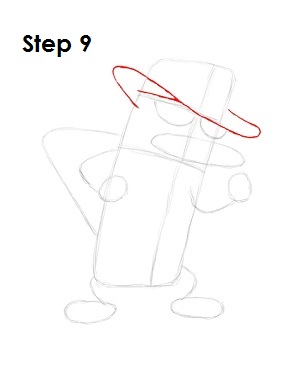
Step 9: Now learn how to draw this Phineas and Ferb character's hat. The hat is a bit tricky, so this section about how to draw Perry the Platypus's hat is divided into two parts. Draw the rim of the hat using the top horizontal construction line as a guide. From the left, draw the bill up and to the left, and then bring it down to the right. End the curved line by drawing the curve back up and to the left to finish Perry the Platypus's brim. Draw a short horizontal line inside of the first curve on the right.
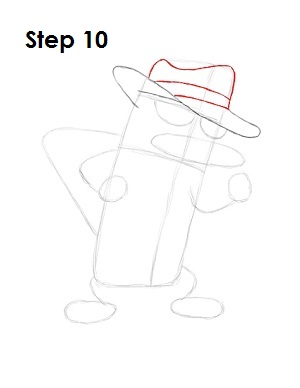
Step 10: Draw the top part of Perry the Platypus's hat using the initial rectangle shape as a guide. Dip the top part of the hat and draw two curved horizontal lines inside the shape as the hatband.


