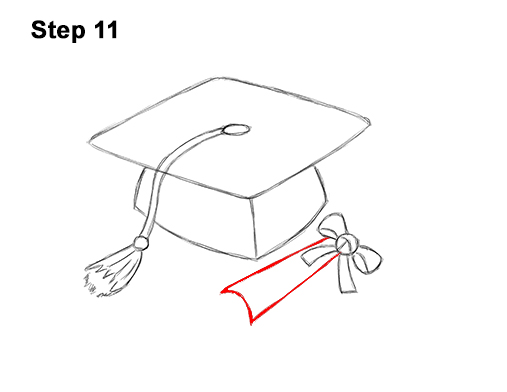
Step 11: Below the bow, draw two long, sloping lines for the rolled-up diploma. The second line should start near the middle of the bow. Close off the shape at the bottom using a smaller line.

Step 12: Below the previous shape, draw another sloping line for the bottom edge of the diploma. At the bottom, draw a curved line to indicate the diploma being rolled up. Inside the circular shape, draw an angled line for the corner of the rolled up-diploma.

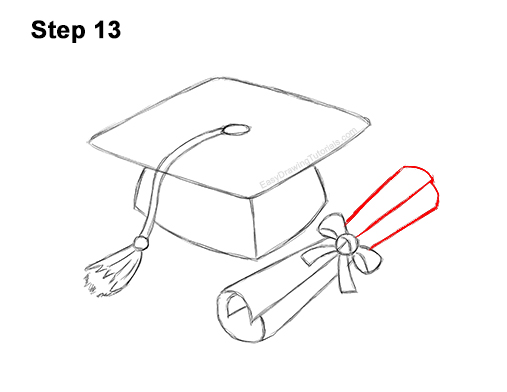
Step 13: Above the bow, draw two more sloping lines for the top part of the rolled -up diploma. The section closest to the bow should be a bit narrower than the top. Draw a line in the middle for the edge of the diploma and close off the shape at the top.

Step 14: Using a pen or marker, carefully go over the lines to make your mortarboard cap and diploma drawing permanent. After inking, get rid of every pencil mark with an eraser.

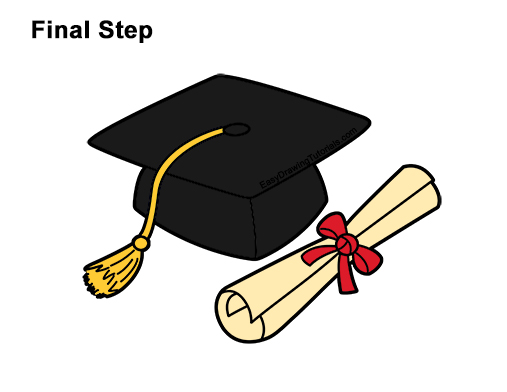
Final Step: Color your graduation cap and diploma drawing using color pencils, markers or crayons! Use black for the graduation cap. Color lightly at first and slowly build up to the level of darkness you like. Don't overlap the tassel. Use yellow-orange for the tassel and red for the bow. Add a bit of yellow to the diploma.
Thanks for visiting! Subscribe to the EasyDrawingTutorials YouTube Channel for a new tutorial every Sunday.
To learn how to draw animals, visit How2DrawAnimals.com.
RELATED TUTORIALS
 |
 |
 |


