Step 6: On either side, at the top, draw a short, vertical line to make the head taller. Draw a curved line at the top to close off the shape of the hair. Frankenstein's monster's head should be very blocky.

Step 7: On either side of the head, near the cheekbones, draw a curved line for Frankenstein's monster's ears.

Step 8: On either side of the jaw, draw a tiny rectangle for the base of the bolts on the neck of Frankenstein's monster. At the tip of each base, draw a bigger rectangle for the head of the bolts. The big jaw is blocking the view of the neck. At the tip of each base, draw a bigger rectangle for the head of the bolts. Add a couple of lines inside for extra detail.

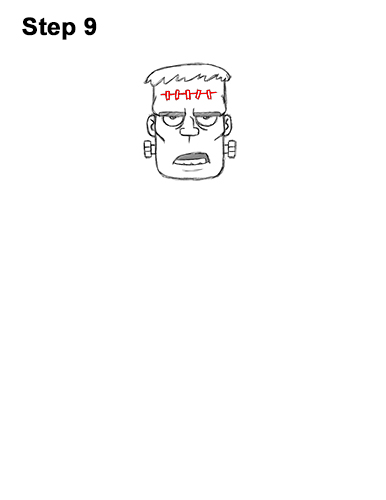
Step 9: Draw a line on the forehead for the scar Frankenstein's monster got when his brain was put in. Draw a series of small rectangles along the path of the line for the stitches.

Step 10: To the left of the head, draw a series of curved lines for the top part of the arm coming forward. The lines should overlap each other, and they should slope toward the lower, left side. At the bottom end, draw a series of curved lines similar to the letter U for the fingers. These arcs for Frankenstein's monster's fingers should get smaller toward the left. Add an angled line inside the first two fingers for fingernails.


