Step 6: On the left side, draw a curved line for the zombie's half-eaten ear. Lightly sketch a curved line over the eyes for the top of the head. When you get the curvature of the head right, darken the lines. Add a few short strokes along the head for the remaining strands of hair.

Step 7: To the right of the head, draw a curved line for the thumb. Curl the line for the thumb so that it's sort of similar to the number 6. To the right, draw a couple more curved lines for the index and middle fingers reaching out. The zombie's fingers are folded, so they should look oval- like. At the tip of each finger, add a square-like shape for the fingernail. Make the nails jagged and broken. Add a couple of lines under the tips of the fingers for the rest of the folded fingers.

Step 8: To the right, draw the ring finger and pinky the same way. Draw the zombie's fingers reaching forward using a series of curved lines. At the tip, draw the fingernails as square-like shapes. At the bottom, draw a couple of curved lines for the palm of the hand facing down.

Step 9: Draw a couple of lines that connect the zombie's hand to the head to create the arm coming forward. To the left of the arm, near the jaw, draw a couple of curved lines for the shirt sleeve. Don't overlap the face with these lines. The head should be resting on the raised shoulder.

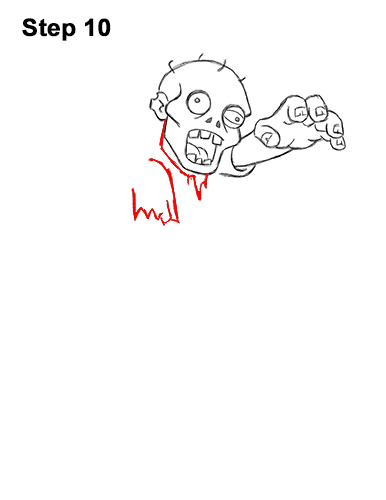
Step 10: Under the zombie's head, draw a V-shaped line for the shirt's collar. Use jagged lines to make the collar appear worn and tattered. On the left side, draw a couple of curved lines with a jagged lower edge for the other sleeve.


