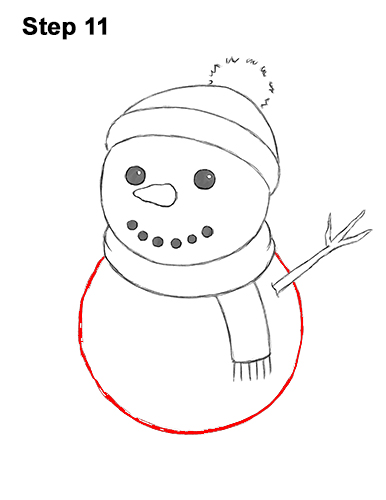
Step 11: Draw the snowman's body by first making a small mark at the bottom, below the scarf. Add marks on the sides and connect the marks using curved lines to form the circular body. As you connect the curved lines, make sure to not overlap the stick hand.
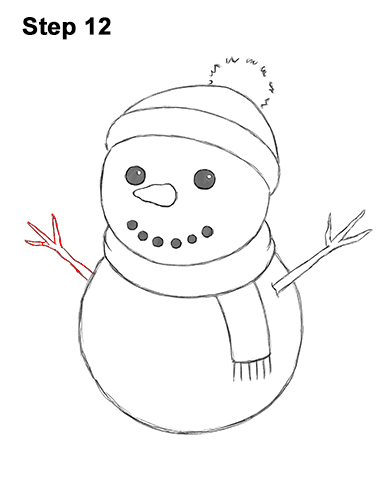
Step 12: Draw the stick hand on the left side the same way as the first one. Use two sloping lines that come to a point for the main part and smaller lines for the snowman's fingers.
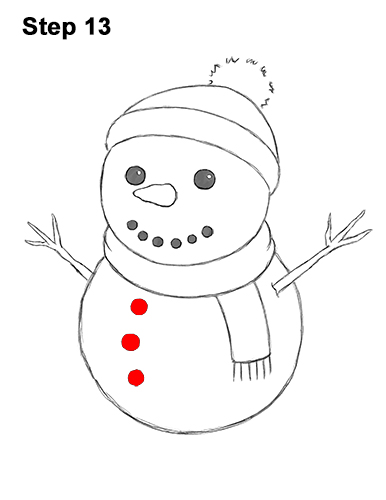
Step 13: Add three small circles on the snowman's body and shade them in for the buttons. You can make the buttons bigger or smaller, or add more or fewer.
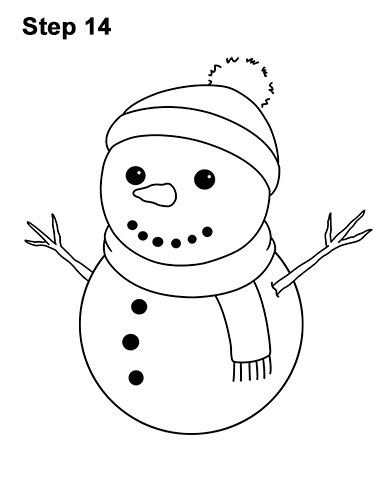
Step 14: Using a pen or marker, carefully go over the lines to make your snowman drawing permanent. After inking, get rid of every pencil mark with an eraser.
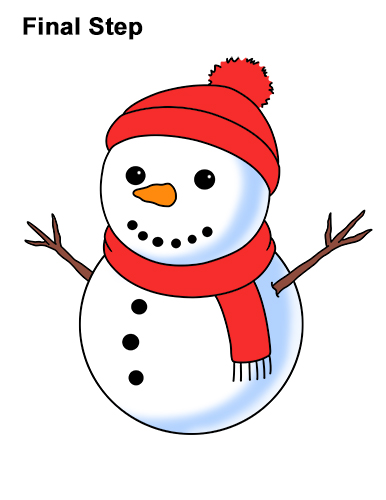
Final Step: Color your snowman drawing using color pencils, markers or even crayons! Use red for the beanie and scarf, and orange for carrot nose. Use brown for the stick arms. Use light blue on the sides of the body to give the snow more detail.
Thanks for visiting! Subscribe to the EasyDrawingTutorials YouTube Channel for a new tutorial every Sunday.
To learn how to draw animals, visit How2DrawAnimals.com.
RELATED TUTORIALS
 |
 |
 |
 |
 |


