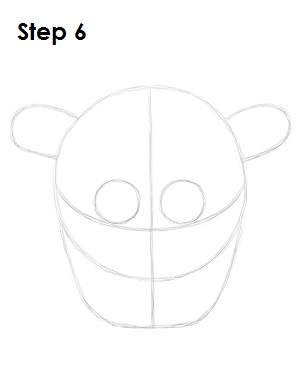
Step 6: That’s it for the initial sketch! You have the basic Freddy Fazbear shape. Now go in and tighten your drawing. From this point on, press harder with your pencil in order to get darker lines and a more defined sketch.
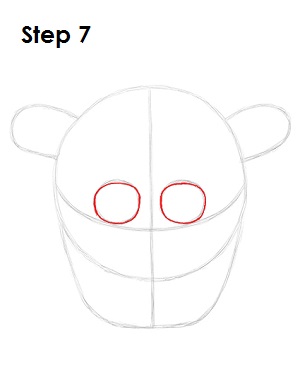
Step 7: Darken the circles in the head to create Freddy Fazbear's eye sockets (the holes where the mechanical eyes will go). Make the shapes a little flatter at the top.
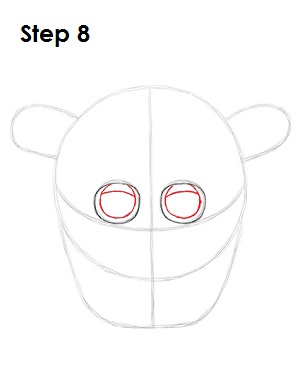
Step 8: Inside each eye socket, draw a smaller circle for Freddy Fazbear's actual eyeballs. Draw a curved line at the top of each eyeball for the eyelids.
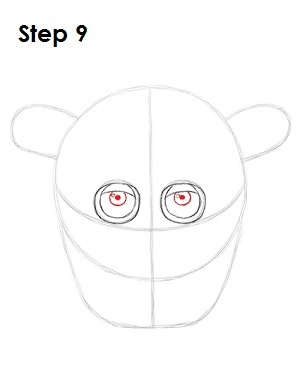
Step 9: Inside each eyeball, draw an even smaller circle for Freddy Fazbear's irises. This circle should be at the top of the eyeball, and the eyelid should be covering it partially. This gives Freddy a more menacing look. Inside each iris, in the middle, draw a dot for the pupils and a tiny circle off to the side to represent glare.
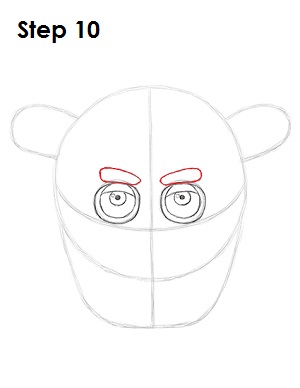
Step 10: Above each eye, draw a thick shape for the eyebrows. The eyebrows should have somewhat of a diagonal orientation that dips down slightly toward the middle of the eyes. This along with the eyes help to give Freddy Fazbear's a subtly malevolent stare.


