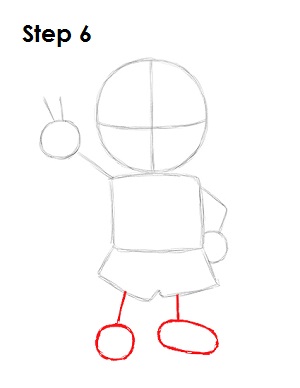
Step 6: Under the body, draw two more shapes as guides for Ness's legs and feet. Two short lines make up the guides for the legs. Draw a circle as a guide for the foot on the left and an oval for the right.
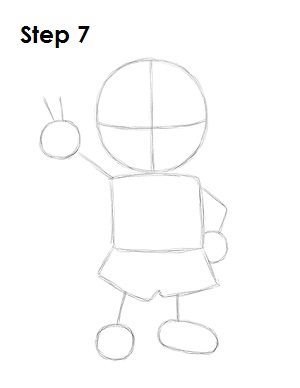
Step 7: That’s it for the initial sketch! You have the basic Ness shape. Now go in and tighten your drawing. From this point on, press harder with your pencil in order to get darker lines and a more defined sketch.
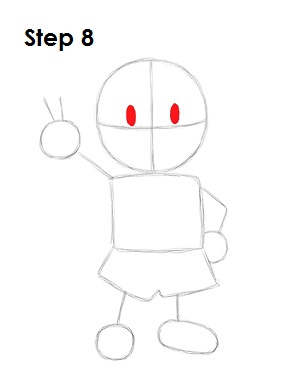
Step 8: Draw two ellipses and shade them in for Ness's eyes. Draw them sitting on top of the horizontal construction line and on either side of the vertical construction.
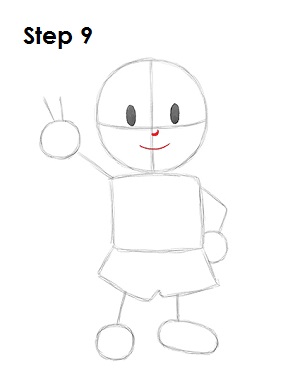
Step 9: Right under the area where the construction lines intersect, draw a tiny curved line for Ness's nose. Under the nose, draw a bigger curved line for the smile.
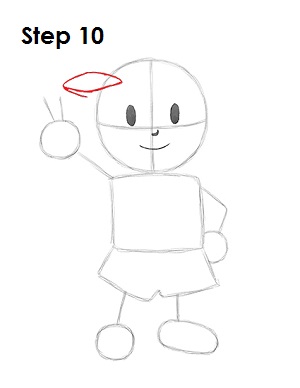
Step 10: Ness's cap is a bit tricky, so its divided into two parts. First draw the bill of the cap on the upper left side of the head. The shape is similar to a sort of flat diamond. Under the diamond, on the left side, draw a smaller line for the other side of the bill.


