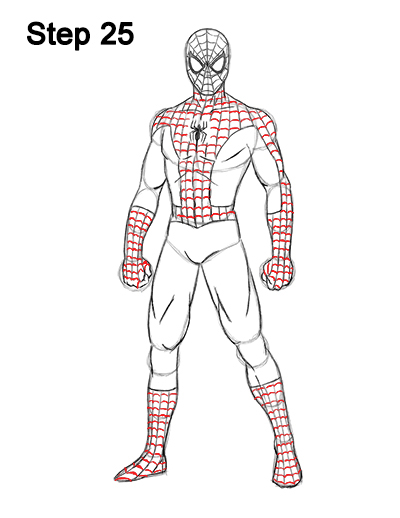
Step 25: Finish Spider-Man's webbing by drawing a series of tiny curved lines between the vertical lines. The little lines should be similar in shape to a wide, upside-down letter U. Pay close attention to the spacing of the lines. It's okay if the lines overlap the lines for Spidey's muscles.
Be sure to not overlap the spider logo on the chest with the webbing. The webbing can be time-consuming to draw, but it gives Spider-Man one of the best costume designs. Adding the little curved lines is quite simple, but it takes a very long time, so be patient and take breaks. You can add the webbing to separate sections at a time to break up the process.
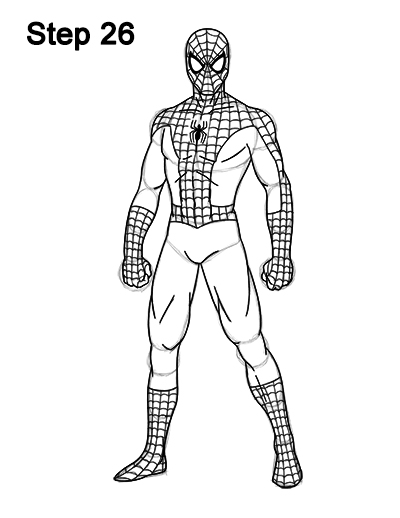
Step 26: For a more finished look, carefully go over the final sketch lines with a pen or marker. You have to retrace every single part of the webbing again!
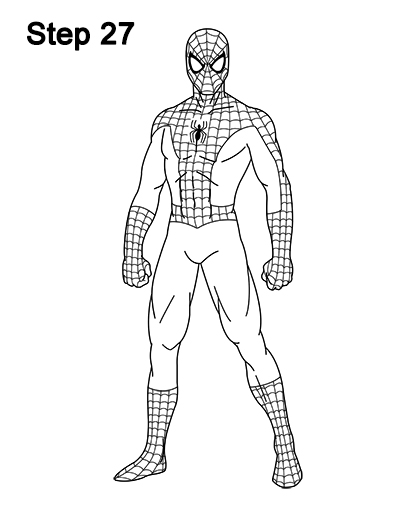
Step 27: After the ink dries, get rid of every pencil mark with an eraser for a cleaner drawing.
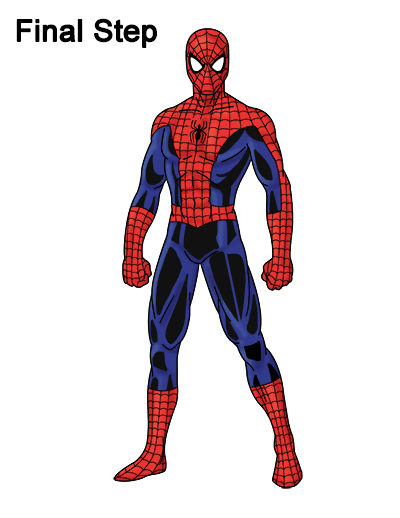
Final Step: Color your Spider-Man drawing using color pencils, markers or even crayons! First color the webbing part red. Add some dark blue and black to a few sections of the rest of the costume to emphasize the shiny blue part. Pause the video to get these sections right. You can also just draw the non-webbing section plain blue for an easier drawing. Add blue to the rest of the non- webbing section of the costume. Use a bit of brown on the webbing section to emphasize the shadows.
Thanks for visiting! Subscribe to the EasyDrawingTutorials YouTube Channel for a new tutorial every Sunday.
To learn how to draw animals, visit How2DrawAnimals.com.
RELATED TUTORIALS
 |
 |
 |


