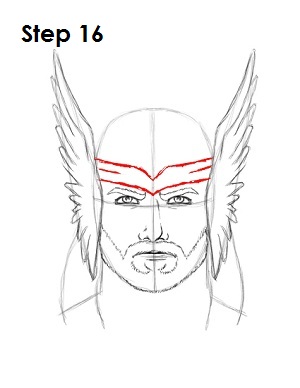
Step 16: There are also different variations of Thor's helmet. This version is similar to the one from the movie. First draw a few lines across Thor's forehead similar to a headband to represent the base of the helmet. Dip the lines to form a V shape between the eyes.
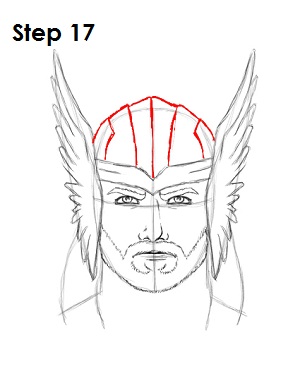
Step 17: Use the top part of the main oval shape to draw the rest of Thor's helmet. Have the helmet come to a point in the middle and draw a few lines for the ridges of the helmet. Use the image above if you need further reference. You can simplify the helmet by not adding the ridges or not adding a helmet at all.
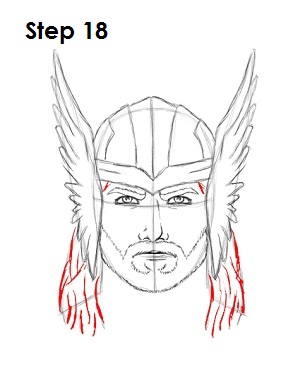
Step 18: Use the lines on the sides as guides to draw Thor's long hair. Follow the basic shape and add more curved lines throughout to add volume to his locks.
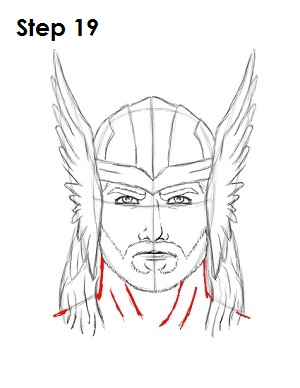
Step 19: Darken the lines to form Thor's neck and upper part of his shoulders. Draw a few lines within the neck for the detail of his muscles.
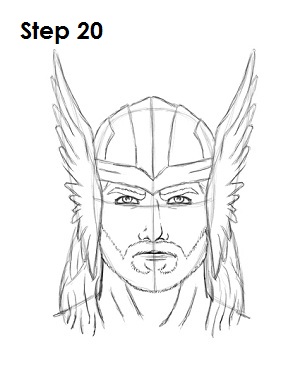
Step 20: That’s it! You now have a nice sketch of Thor from Marvel Comics. You can stop at this quick drawing for a rough, sketchy look or go for a more finished look by continuing to the step below.


