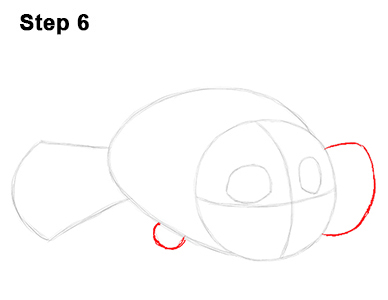
Step 6: To the right of the head, draw another arc as a guide for Nemo's fin. Draw a smaller u-shaped arc under the body on the left side as a guide for his smaller “lucky” fin.
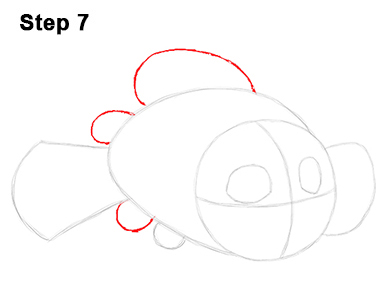
Step 7: Now draw three more arcs around the body as guides for the rest of Nemo's fins. The arc at the top is for his dorsal fin, so this arc should be the biggest. The other two arcs should be smaller and closer to the tail.
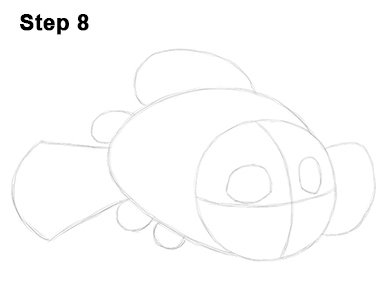
Step 8: That’s it for the initial sketch! You have the basic head shape for Nemo, the clownfish from Disney's Finding Nemo and Finding Dory. Now go in and tighten your drawing. From this point on, press harder with your pencil in order to get darker lines and a more defined sketch.
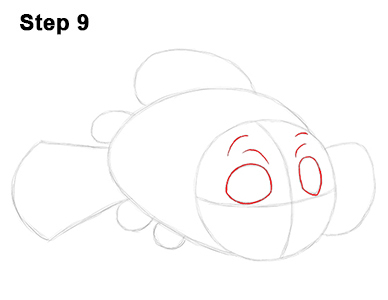
Step 9: Darken the basic circle-like shapes inside the head to create Nemo's eyes. Draw a couple of curved lines over each eye for extra detail on the brow.
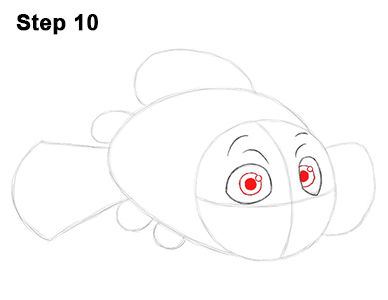
Step 10: Inside each eye, draw a circle for Nemo's irises. Inside each iris, off to the side, draw a tiny circle to represent glare. Inside each eye, in the middle, draw a big circle and shade it in for the pupils.


