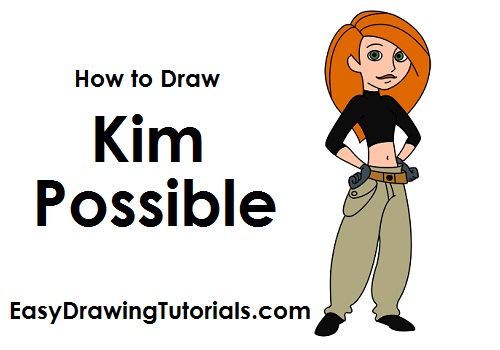
Use the video and step-by-step drawing instructions below to learn how to draw Disney Channel's Kim Possible. A new cartoon drawing tutorial is uploaded every week, so stay tooned!
Intro: When learning how to draw Kim Possible, start off with a pencil sketch. In the beginning stages, don’t press down too hard. Use light, smooth strokes for sketching.
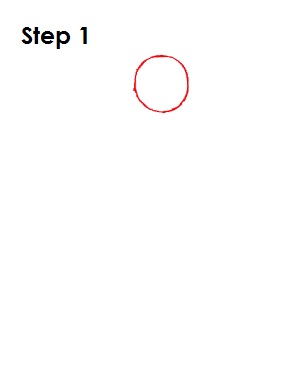
Step 1: Start with a small circle near the top of the page. It doesn’t have to be perfect. It’s just a guide for Kim Possible's head. Leave enough room at the bottom for her body.
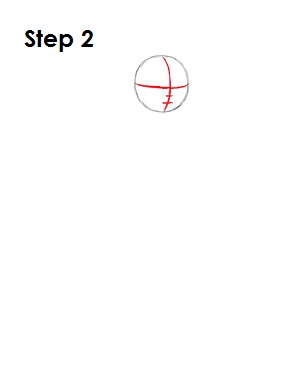
Step 2: Next, draw two intersecting lines across the head, one vertical and one horizontal. Bend the lines a bit so that they contour to the shape of the head. Draw two smaller lines under the horizontal construction line. These will be construction lines that will help you place Kim Possible's facial features later on.
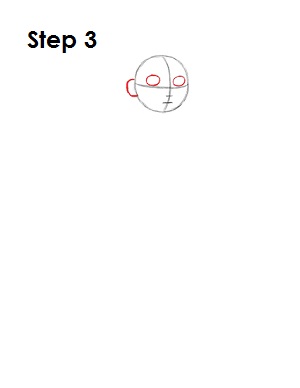
Step 3: Now draw guides for Kim Possible's eyes by drawing two small ovals right on top of the horizontal construction line and on either side of the vertical line. On the left side of the head, draw a C-shaped arc as a guide for the ear.

Step 4: Under the head draw a tiny line as a guide for Kim Possible's neck. Under that line, draw an upside-down triangle as a guide for the top part of the torso. Notice how the bottom of the triangle points slightly to the right.
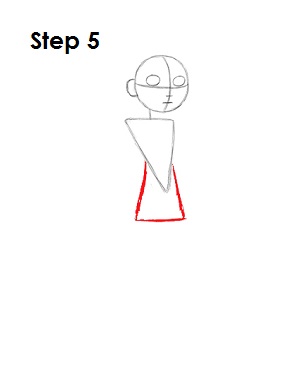
Step 5: Draw an angled line under the triangle as a guide for the bottom part of Kim Possible's torso. The shape is flat at the bottom with two lines that go up to meet the triangle.


