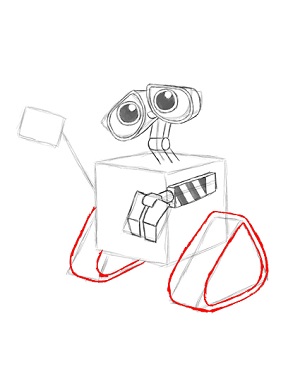
Step 11: Wall-E’s track can be a little tricky, so the instructions for how to draw it are split up into two steps. First use the initial shapes as a guide to draw the basic outline for the track. Make the track more round and lose the sharp corners and angles.

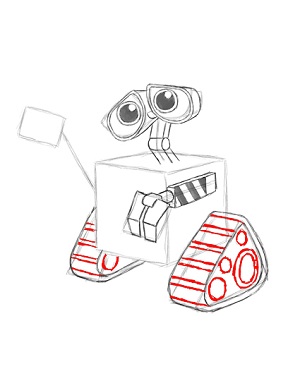
Step 12: Draw small horizontal lines that surround the track to make it bumpier and more track-like. Finish up Wall-E's track by drawing a few circles of different sizes inside the shape to represent the mechanical gears that drive him.

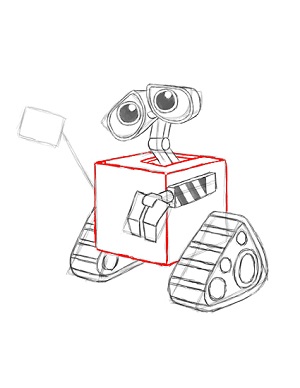
Step 13: Darken the shape that makes up Wall-E's body. Draw a square at the base of his neck using a series of lines to create an opening.

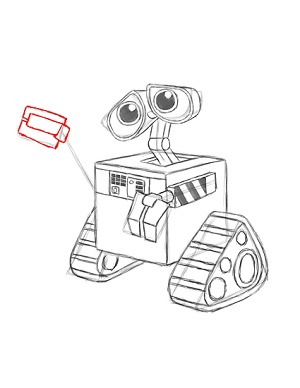
Step 14: On the front of Wall-E's body draw a panel using squares and rectangles of different sizes to represent buttons and overall extra detail.

Step 15: Draw the left had using the initial square shape as a guide. Wall-E's hand consists of three rectangles that make up his flat fingers on a small rectangle for the hinge.


