
Use the video and step-by-step drawing instructions below to learn how to draw Johnny Test. A new cartoon drawing tutorial is uploaded every week, so stay tooned!
Intro: Start drawing Johnny Test with a pencil sketch. In the beginning stages, don't press down too hard. Use light, smooth strokes for sketching.
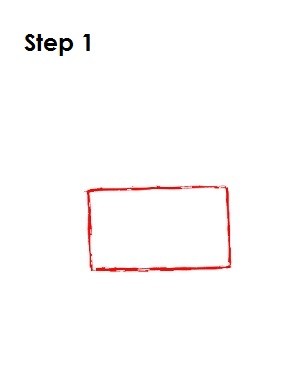
Step 1: To draw Johnny Test, start by drawing a rectangle, which will be the basic shape for Johnny Test's head. Draw it closer to the bottom of the page to leave room for his spiky hair.
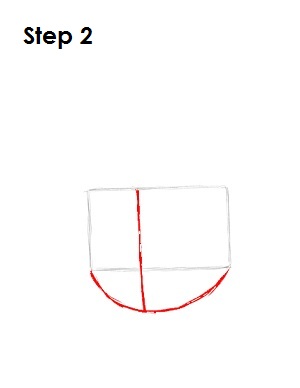
Step 2: Next draw a curved line under the rectangle that looks like a wide letter U for the lower part of Johnny Test's face. Draw a vertical line that splits the shapes into two. Draw line closer to the left side. This is a construction line that will help you place Johnny Test's facial features later on.
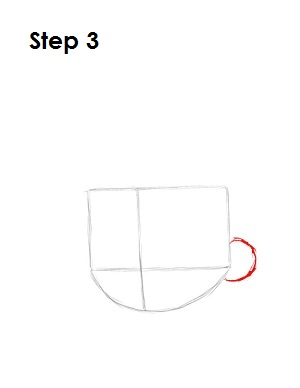
Step 3: Now draw a curved line similar to a backwards letter C on the outside of the lower right corner of the rectangle. This is the basic shape for Johnny Test's ear.
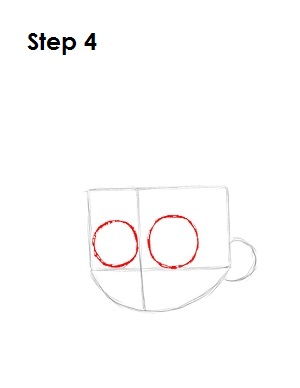
Step 4: Draw two circles inside the rectangle and on either side of the vertical line for Johnny Test's eyes. Draw the left circle a tiny bit smaller because of the perspective.
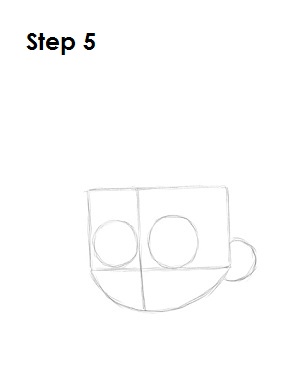
Step 5: That's it for the initial sketch for the Johnny Test cartoon character! You have the basic Johnny Test shape, so now go in and tighten your drawing. From this point on, press harder with your pencil in order to get darker lines and a more defined sketch.


