Creating a Flash Mask
A mask is very much like a window- you see through it.
The filled area in a mask layer shows parts of the Masked layer attached to it.
How To Make a Flash Mask
Create a new file.
Import a picture to layer 1.
Add another layer above the picture layer. You can select and drag layers to rearrange their stacking order.
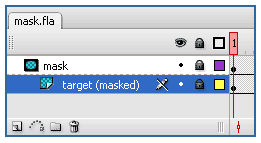
Select the new layer, Right Click it, and select "Mask". This layer will become the mask layer, and the bottom pic layer should become "masked" automatically.
Both layers become locked.
If the bottom (pic) layer did not become masked – select and drag it onto the mask layer until it catches.

Unlock the mask layer (the top one).
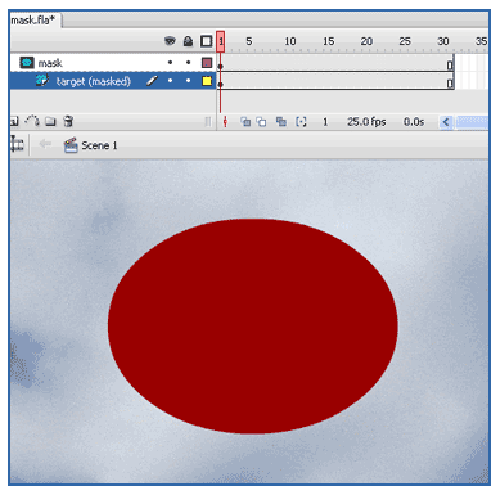
Draw a circle in it.

Lock both layers again.
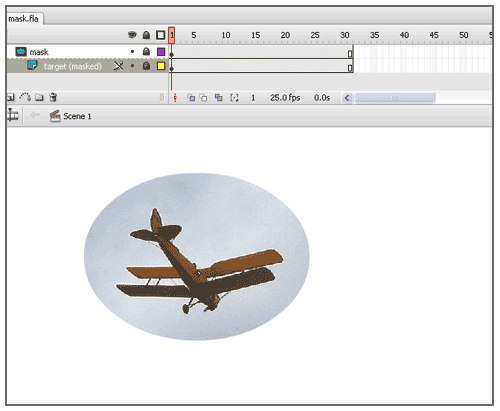
Out of the entire picture – only the Mask area is visible now.
It is very much like a window.

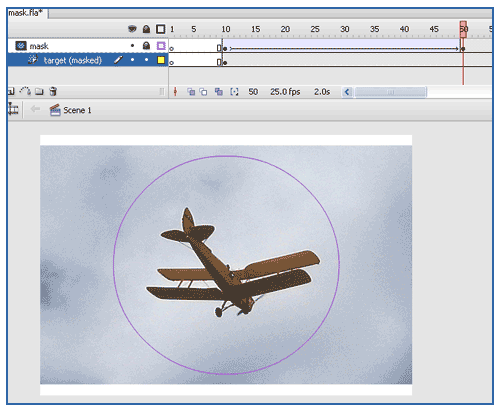
Unlock the mask layer again. Select the circle and convert it into a symbol (F8). Create an animation with it- moving across the screen.
Lock the layers again.

The masked area moves across the picture.
Some Rules and Tips for masks in Flash:
You can create a mask out of:
- Fill Shapes
- Symbols
- Drawing objects
- Groups
- Motion Tween Animation
- Shape Tween Animation
You CANNOT make a mask out of:
- Lines
- A symbol that contains other symbols (well, you could, but only the top-most of the symbols inside will behave like a mask).
You can add as many layers as you like under one mask.
A comfortable way to work under masks is to lock the mask layer and toggle it to Outline Mode (the color square on the layer icons).
This way you can see the mask's boundaries as well as what's under it.
Related Articles
Why the animation jumps if you move the transformation point?
Flash Tutorials
mask tutorial
the transformation point (why does the pivot jump?)
Drawing in Flash - How to draw a cat
Part 1 - body
Part 2 - face
Flash 101 Series:
Flash Symbol Explained part 1 and part 2
Flash 101 series main page
Exercise 1: Create a new Flash Symbol
Exercise 2: Convert to Symbol + Break Apart
Exercise 3: Create Multiple Instances + Distribute to Layers
Exercise 4: Transform instances + color effects
Exercise 5: Edit Symbol + Navigate in and out of symbols
Exercise 6: Nested symbols: Sun animation
Exercise 7: Duplicate + Swap
Flash Cut Out Animation Tuts
Butterfly Animation Tutorial:
Part 1, Part 2, Part 3
Rabbit Animations Tutorial
Download the source files for these tutorials!
